Alright, listen up! If you’re here, chances are you’re ready to dive into the world of SSH Raspberry Pi IoT projects and take your tech skills to the next level. This isn’t just about tinkering with gadgets; it’s about creating something meaningful, something that can revolutionize the way we interact with technology. Whether you’re a hobbyist or a professional, SSH on a Raspberry Pi opens doors to endless possibilities in the IoT space.
So, why are we talking about SSH Raspberry Pi IoT projects? Because they’re not just cool—they’re essential. In today’s hyper-connected world, being able to remotely access and control your devices is a game-changer. From home automation to industrial applications, SSH (Secure Shell) is the backbone of secure communication between your Raspberry Pi and the outside world. And trust me, once you get the hang of it, you won’t look back.
Now, before we dive deep into the nitty-gritty, let’s clear one thing up: this isn’t just another guide. We’re going to break it down step by step, making sure you understand every aspect of SSH Raspberry Pi IoT projects. By the end of this, you’ll be equipped with the knowledge and confidence to start building your own projects. Sound good? Let’s go!
- Megyn Kellys Weight Journey Insights Achievements And More
- Millie Bobby Browns Ex A Deep Dive Into Her Past Relationships And Love Life
But first, here’s a quick roadmap to help you navigate through this guide:
- Introduction to SSH Raspberry Pi IoT Projects
- What is SSH and Why Does It Matter?
- Raspberry Pi Basics for IoT Enthusiasts
- Setting Up SSH on Your Raspberry Pi
- Exploring Popular IoT Projects with SSH
- Security Tips for SSH Raspberry Pi IoT Projects
- Common Issues and How to Fix Them
- Advanced SSH Raspberry Pi IoT Projects
- Tools and Resources You’ll Need
- Wrapping It All Up
Introduction to SSH Raspberry Pi IoT Projects
Alright, let’s get real. IoT (Internet of Things) is everywhere these days. From smart fridges to self-driving cars, the possibilities are endless. But what makes IoT truly powerful is the ability to control and monitor devices remotely—and that’s where SSH comes in.
SSH, or Secure Shell, is a protocol that allows you to securely access and manage remote devices over a network. Combine this with the versatility of a Raspberry Pi, and you’ve got a powerhouse for building IoT projects. Whether you’re setting up a home security system, automating your garden watering, or creating a weather station, SSH makes it all possible.
- Matteo Milleri The Rising Star In The Spotlight
- Unveiling Janet Sheens Grandchildren A Closer Look At Her Family Legacy
Why SSH Raspberry Pi IoT Projects Are a Big Deal
Here’s the thing: SSH isn’t just about remote access. It’s about security, efficiency, and scalability. With SSH, you can:
- Securely manage your Raspberry Pi from anywhere in the world
- Automate repetitive tasks with scripts and cron jobs
- Monitor and control IoT devices in real-time
- Protect your data with encryption
And the best part? It’s easy to set up, even for beginners. So whether you’re a tech enthusiast or a seasoned pro, SSH Raspberry Pi IoT projects are worth exploring.
What is SSH and Why Does It Matter?
Okay, let’s break it down. SSH stands for Secure Shell, and it’s basically a way to connect to another computer or device over a network. Think of it like a secure tunnel that lets you send commands, transfer files, and manage settings—all without compromising your security.
Here’s why SSH matters:
- Security: SSH uses encryption to protect your data from prying eyes.
- Flexibility: You can access your Raspberry Pi from anywhere, as long as you have an internet connection.
- Efficiency: With SSH, you can automate tasks, run scripts, and manage multiple devices at once.
For IoT projects, SSH is a must-have. It allows you to remotely monitor and control your devices, which is especially useful if you’re building something like a smart home system or a weather station.
How SSH Works in IoT Projects
When you use SSH for IoT projects, you’re essentially creating a secure connection between your Raspberry Pi and other devices on your network. Here’s how it works:
- Your Raspberry Pi acts as the server, waiting for incoming connections.
- You use an SSH client (like PuTTY or Terminal) to connect to your Raspberry Pi.
- Once connected, you can send commands, transfer files, and manage settings—all from your computer.
Simple, right? But don’t worry if it sounds a bit overwhelming. We’ll walk you through the setup process in the next section.
Raspberry Pi Basics for IoT Enthusiasts
Before we dive into SSH, let’s talk about the star of the show: the Raspberry Pi. This little device has become a favorite among hobbyists and professionals alike, thanks to its versatility and affordability.
Here’s what you need to know:
- What is a Raspberry Pi? It’s a single-board computer that’s small, affordable, and packed with features.
- Why is it perfect for IoT projects? Because it’s easy to program, has a ton of GPIO pins for connecting sensors and actuators, and runs on Linux, which is highly customizable.
- Which model should you use? The Raspberry Pi 4 is the most popular choice for IoT projects, thanks to its faster processor and more RAM.
But here’s the kicker: you don’t need to be a coding genius to use a Raspberry Pi. With a few tutorials and some patience, you can build amazing IoT projects in no time.
Setting Up Your Raspberry Pi for IoT
Before you can start using SSH, you’ll need to set up your Raspberry Pi. Here’s a quick guide:
- Install Raspberry Pi OS on an SD card.
- Connect your Raspberry Pi to a monitor, keyboard, and mouse.
- Boot up your Raspberry Pi and configure the settings (Wi-Fi, time zone, etc.).
- Update your software using the terminal:
sudo apt update && sudo apt upgrade
Once you’ve done that, you’re ready to move on to the next step: setting up SSH.
Setting Up SSH on Your Raspberry Pi
Alright, here’s where the fun begins. Setting up SSH on your Raspberry Pi is easier than you think. Just follow these steps:
- Open the Raspberry Pi Configuration tool:
sudo raspi-config
- Scroll down to “Interfacing Options” and select it.
- Choose “SSH” and enable it.
- Reboot your Raspberry Pi:
sudo reboot
That’s it! Your Raspberry Pi is now set up to accept SSH connections. But wait, there’s more. You’ll also need to find your Raspberry Pi’s IP address. You can do this by running:
hostname -I
This will give you the IP address, which you’ll need to connect from your computer.
Connecting to Your Raspberry Pi via SSH
Now that SSH is enabled, it’s time to connect. Here’s how:
- Open your SSH client (like PuTTY on Windows or Terminal on macOS/Linux).
- Type in the command:
ssh pi@
- Enter the password when prompted (default is “raspberry”).
Congratulations! You’re now connected to your Raspberry Pi via SSH. From here, you can start exploring the possibilities of IoT projects.
Exploring Popular IoT Projects with SSH
So, what can you actually do with SSH and a Raspberry Pi? The answer is: pretty much anything! Here are some popular IoT projects to get you started:
- Home Automation: Control your lights, thermostat, and appliances with a few commands.
- Weather Station: Set up a weather station to monitor temperature, humidity, and air pressure.
- Security System: Build a motion-detecting camera that sends alerts to your phone.
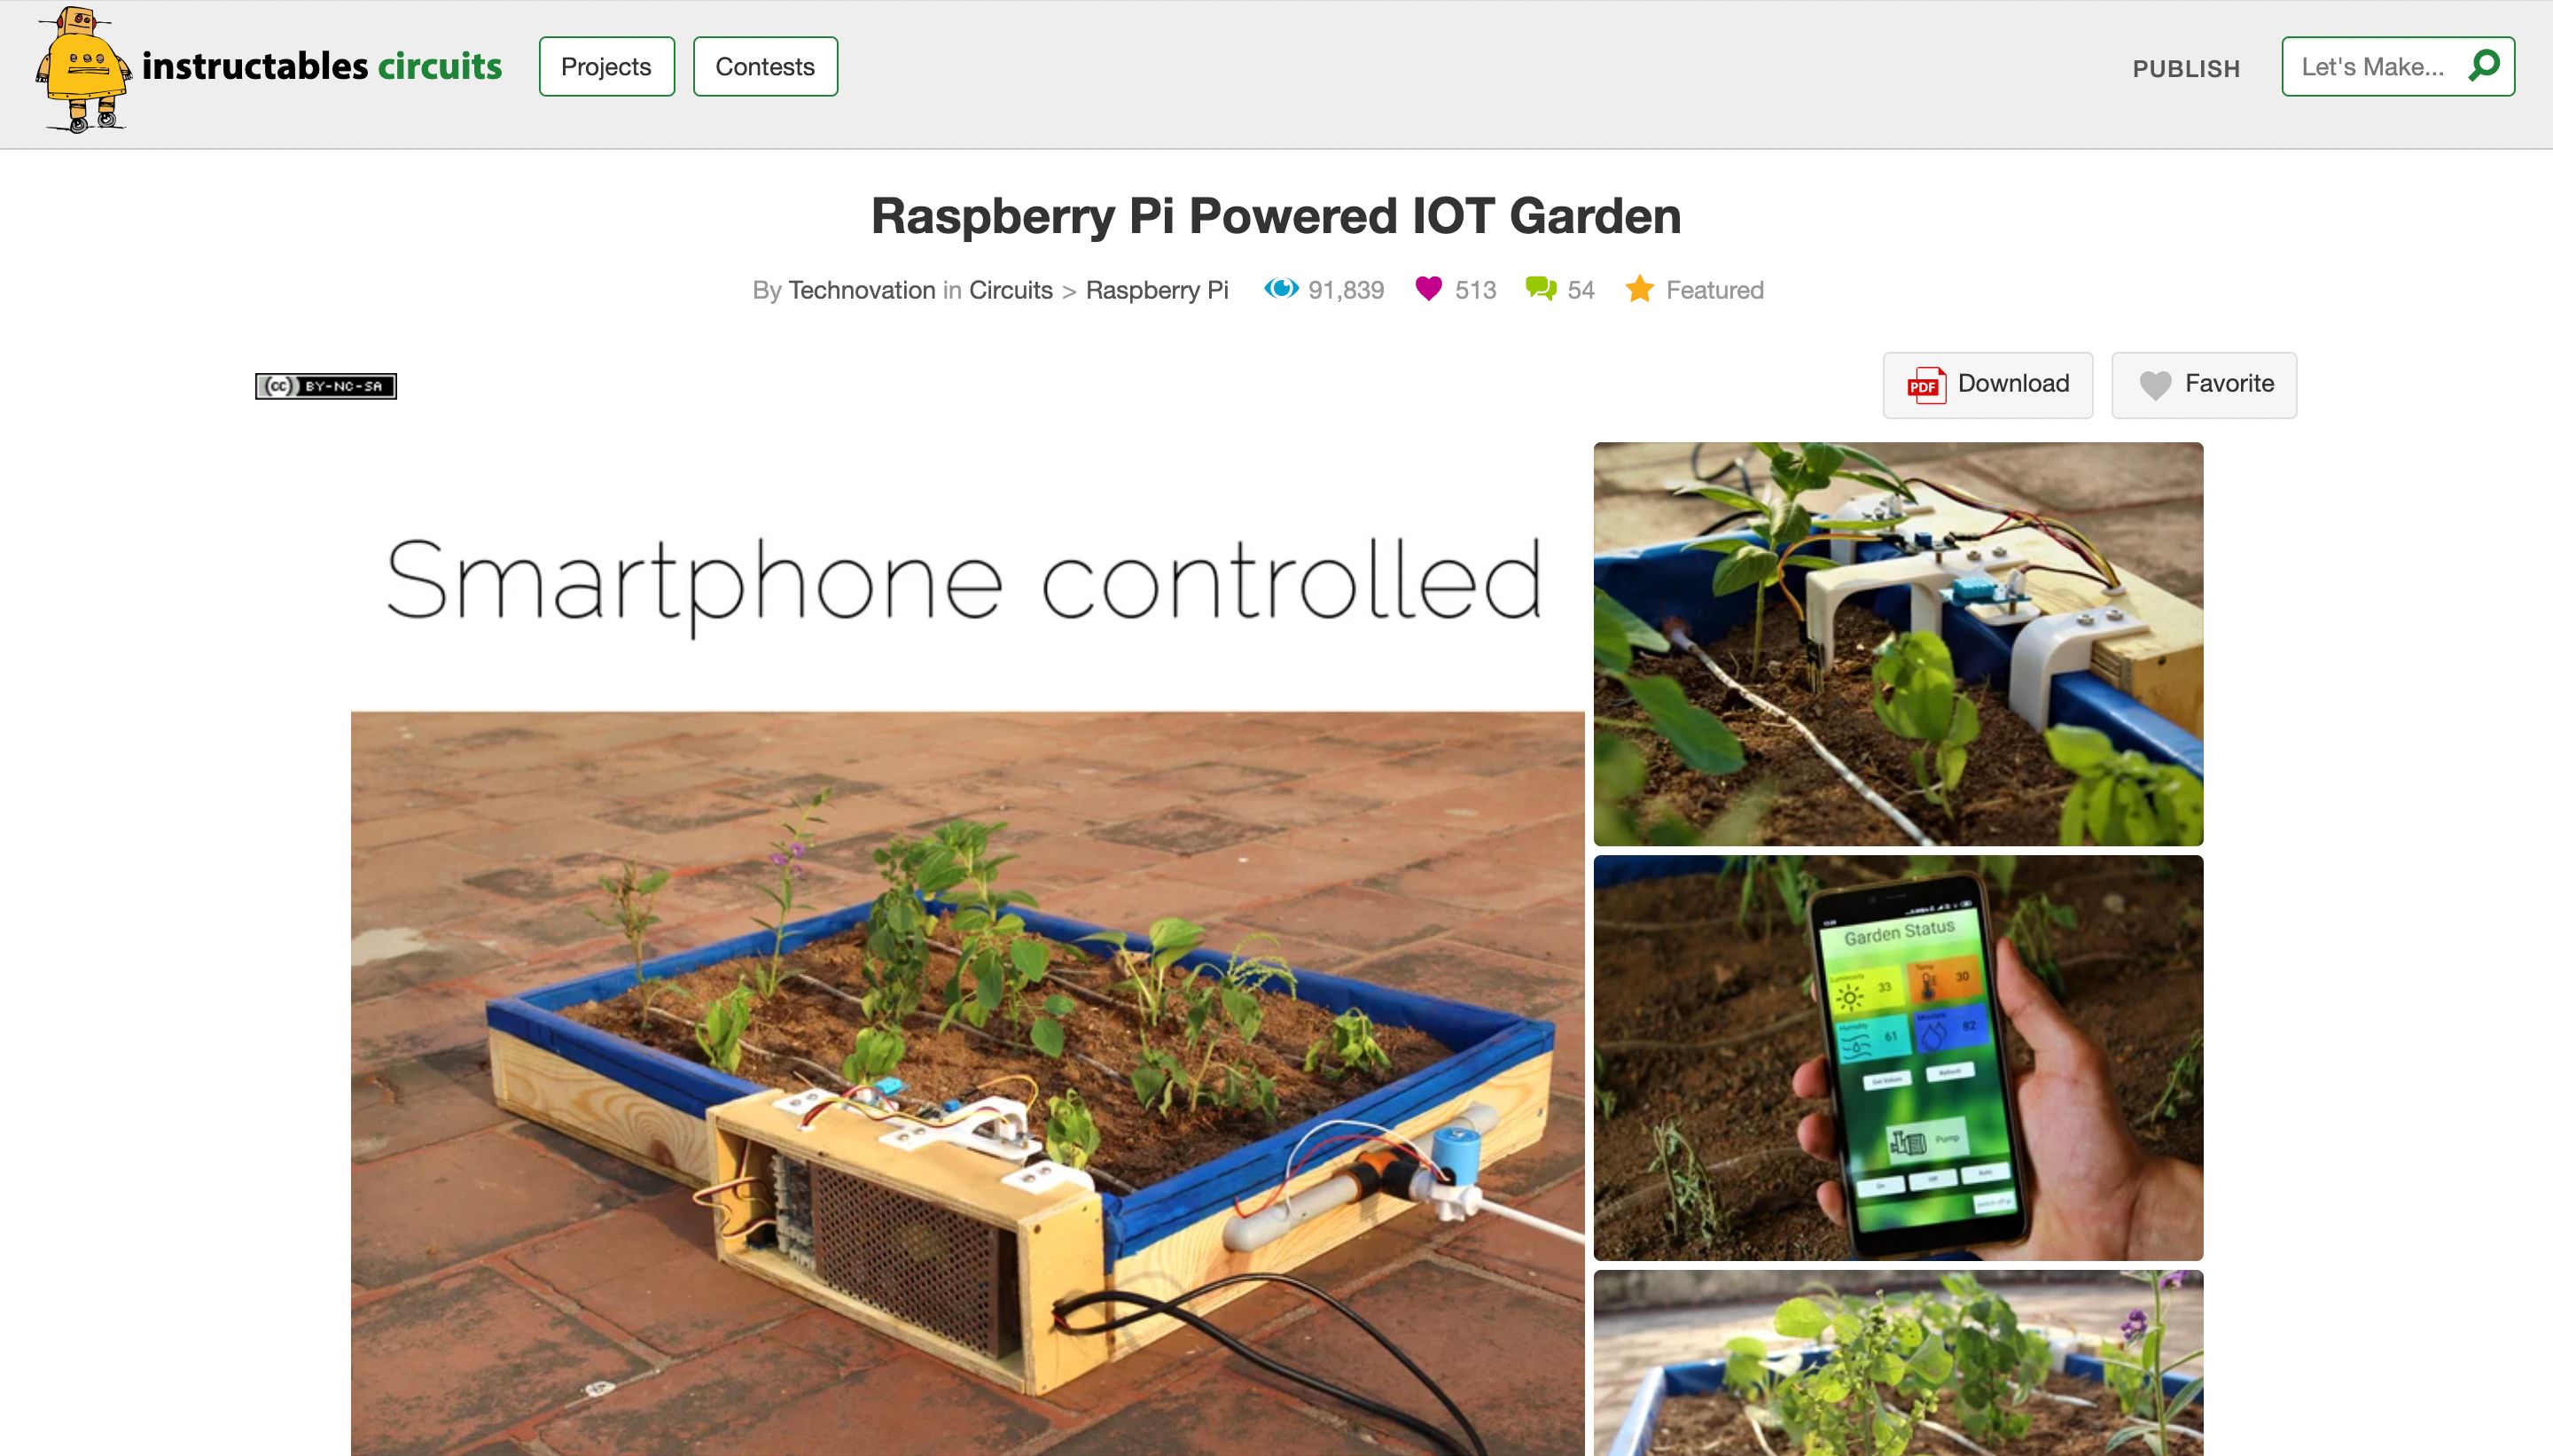
- Smart Garden: Automate watering and monitor soil moisture levels.
Each of these projects can be enhanced with SSH, allowing you to manage them remotely and automate tasks.
Step-by-Step Guide to a Simple IoT Project
Let’s walk through a simple project: setting up a temperature monitor. Here’s what you’ll need:
- A Raspberry Pi
- A DS18B20 temperature sensor
- A breadboard and jumper wires
Once you’ve got everything, follow these steps:
- Connect the DS18B20 sensor to your Raspberry Pi.
- Enable the 1-Wire interface in Raspberry Pi Configuration.
- Write a Python script to read the temperature and log it to a file.
- Use SSH to monitor the temperature remotely.
Voilà! You’ve just created a basic IoT project using SSH and a Raspberry Pi.
Security Tips for SSH Raspberry Pi IoT Projects
Now, here’s the thing: security is crucial when it comes to IoT projects. You don’t want some random hacker taking control of your smart home system, right? Here are a few tips to keep your SSH Raspberry Pi setup secure:
- Change the Default Password: Never leave the default “raspberry” password unchanged.
- Use SSH Keys: Disable password-based authentication and use SSH keys for added security.
- Restrict Access: Use a firewall to limit who can connect to your Raspberry Pi.
- Keep Software Up-to-Date: Regularly update your Raspberry Pi OS to patch security vulnerabilities.
By following these tips, you can ensure that your SSH Raspberry Pi IoT projects are safe and secure.
Advanced Security Measures
If you’re feeling adventurous, here are some advanced security measures you can implement:
- Two-Factor Authentication: Add an extra layer of security by requiring a second form of verification.
- Intrusion Detection: Set up a tool like Fail2Ban to block suspicious login attempts.
- Network Segmentation: Isolate your IoT devices on a separate network to minimize risks.
Remember, security is an ongoing process. Stay vigilant and keep learning!
Common Issues and How to Fix Them
Even the best-laid plans can go awry sometimes. Here are some common issues you might encounter with SSH Raspberry Pi IoT projects and how to fix them:
- Connection Refused: Make sure SSH is enabled and your Raspberry Pi is connected to the network.
- Authentication Failed: Double-check your password or SSH key configuration.
- Timeout Errors: Ensure your Raspberry Pi’s IP address hasn’t changed and there are no network issues.
If you’re still stuck, don’t hesitate to ask for help. The Raspberry Pi community is full of friendly folks who are happy to lend a hand.
When All Else Fails
Sometimes, you just need to start fresh. Here’s what you can do:
- Reinstall Raspberry Pi OS and set everything up again.
- Check your hardware connections to ensure everything is properly plugged in.
- Consult the official Raspberry Pi documentation for troubleshooting tips.
- Unveiling The Legacy Jeff Bezos Daughters Journey At Northwestern University
- Unveiling The Truth A Comprehensive Look At Subhashree Sahu Leaked Mms Scandal